Lowered Price
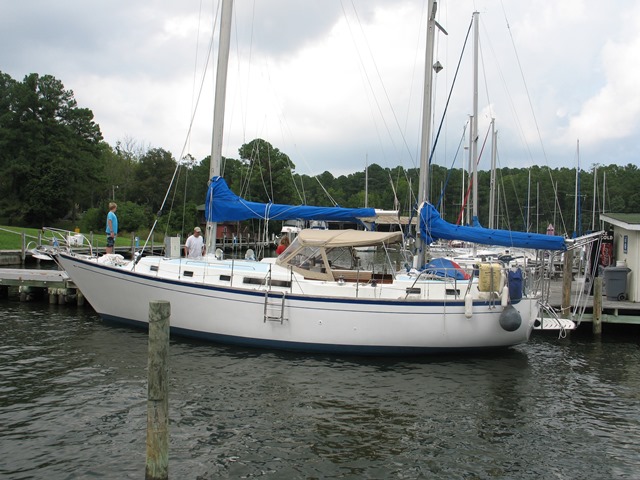
April 6, 2015FOR SALE, Whitby 42
April 19, 2014FOR SALE, a Whitby 42
November 25, 2013WE are away!!!
September 18, 2013.jpg)
She Moves!
August 31, 2013WE FLOAT
August 31, 2013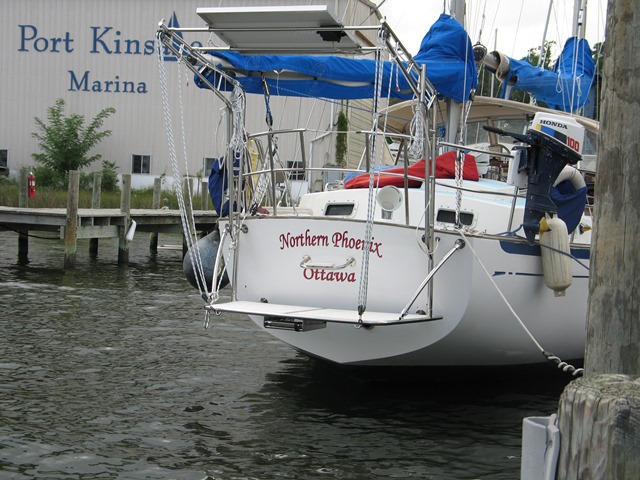
Count down to splash... 40 hours!
August 27, 2013Lots of little things...ready to splash !
August 23, 2013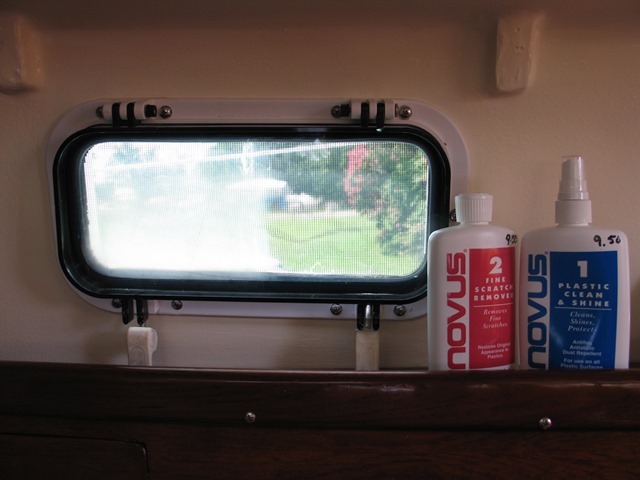
Lots happening
August 16, 2013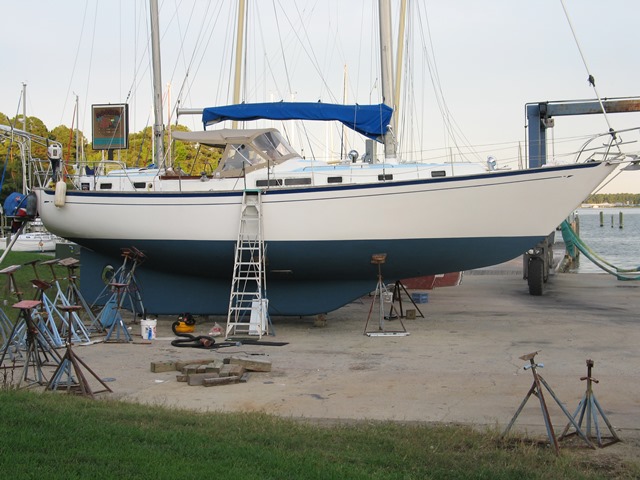
Bryan Haas
| bryhaas@gmail.com |
| Cookstown Ontario |
Please feel free to contact me!
I grew up on the waters of the Chesapeake sailing and fishing. I was paid to work, sail, race, and sometimes live on a 51' Hinkley (they didn't really need to pay me but they offered!).
I am a high school science teacher who likes to learn by doing. Used to teach at "The Sound School" in New Haven Ct. Check it out, the most amazing on- the- water school there is.
I have rebuilt smaller boats from scratch, but nothing on this scale. This is an adventure. All help is greatly appreciated.

Categories
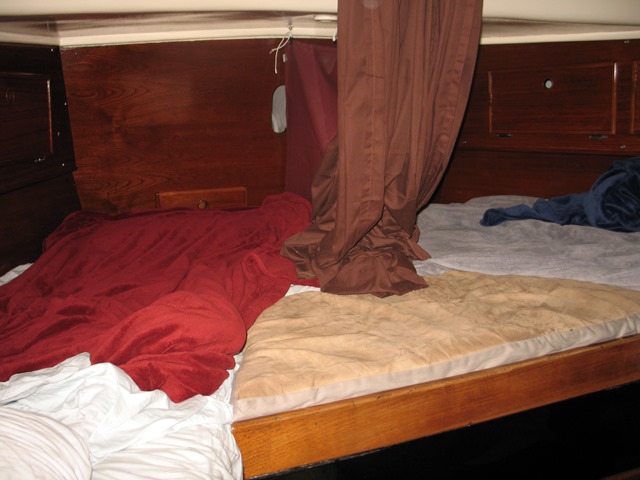
- Aft Cabin (1)
- Anchor (4)
- Battery (1)
- Bilge pumps (1)
- Boat Buying (1)
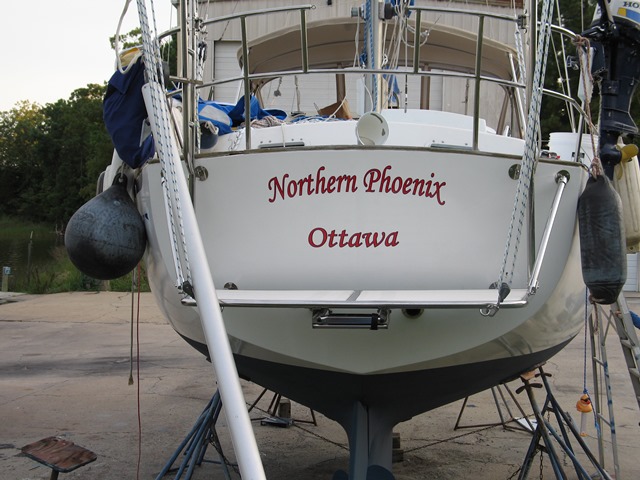
- Boat Name (1)
- bottom (2)
- Chain plates (2)
- Cushions (5)
- deck hardware (9)
- Deck repairs (7)
- Diesel System (1)
- Dodger (1)
- Electrical (9)
- Electronics (2)
- Empty Boat (1)
- Engine (5)
- Engine Room (1)
- Exhaust (3)
- Fresh water (1)
- Fresh water plumbing (5)
- Fridge (5)
- Fuel tanks (6)
- Galley (4)
- Hatches (2)
- Heads (3)
- Holding tank (1)
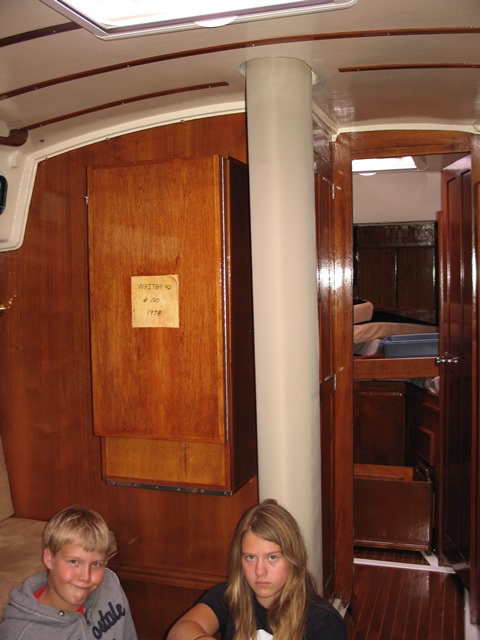
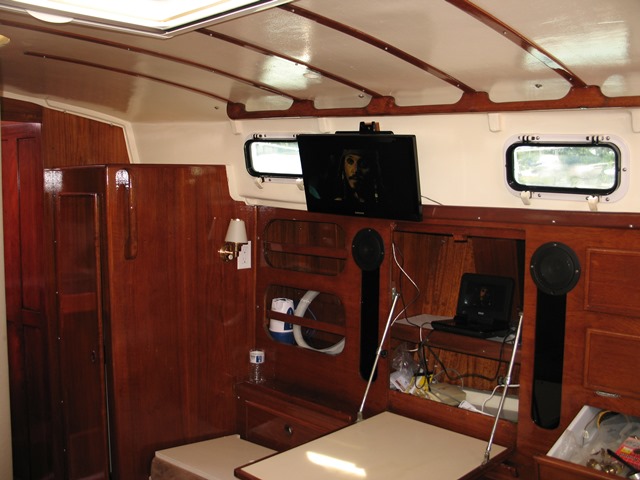
- Main cabin (3)
- Mast (2)
- One year (1)
- Paint (3)
- Pedestal (4)
- plumbing (2)
- port locker (1)
- Rant (15)
- Rigging (1)
- Sails (2)
- Seacocks (3)
- Steering (1)
- Swim Platform (2)
- Toys (3)
- Varnish (4)
- Winches (4)
- Wood work (8)
